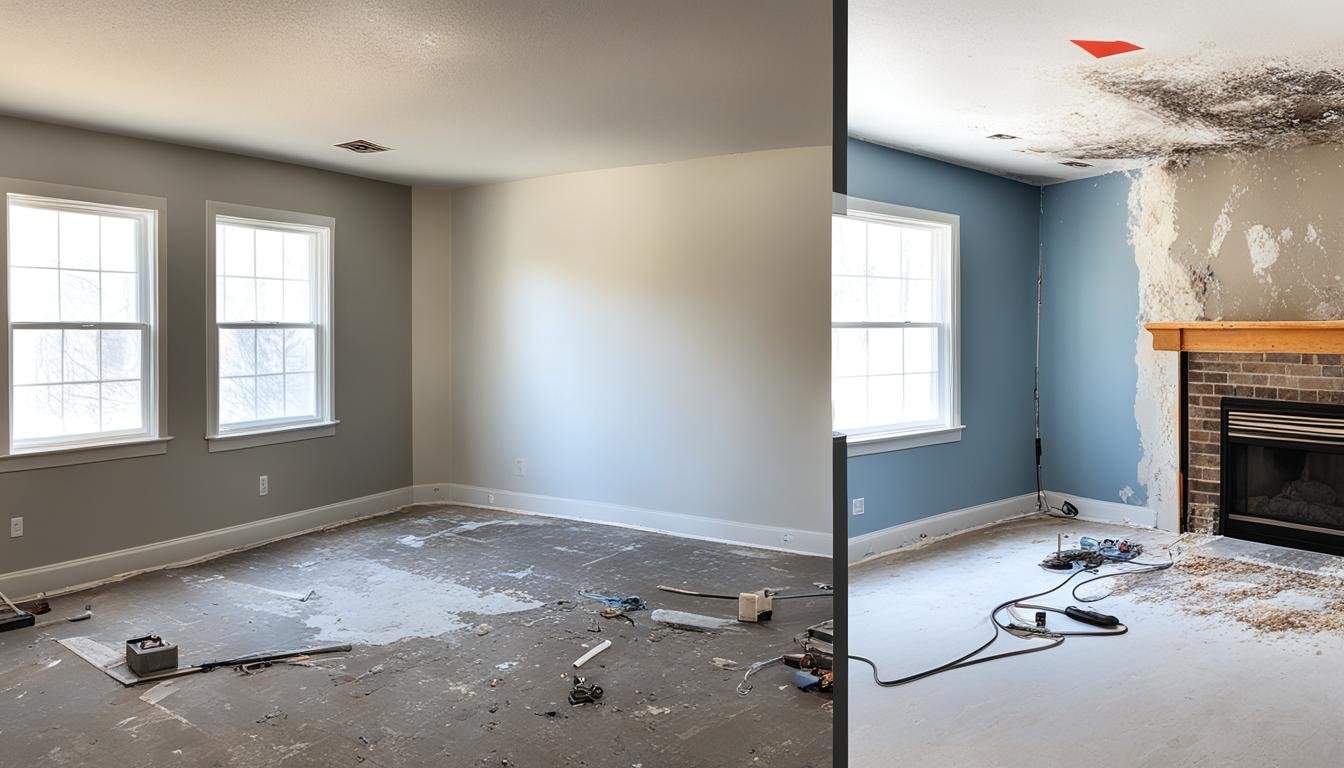
Identifying Water Damage Behind Walls

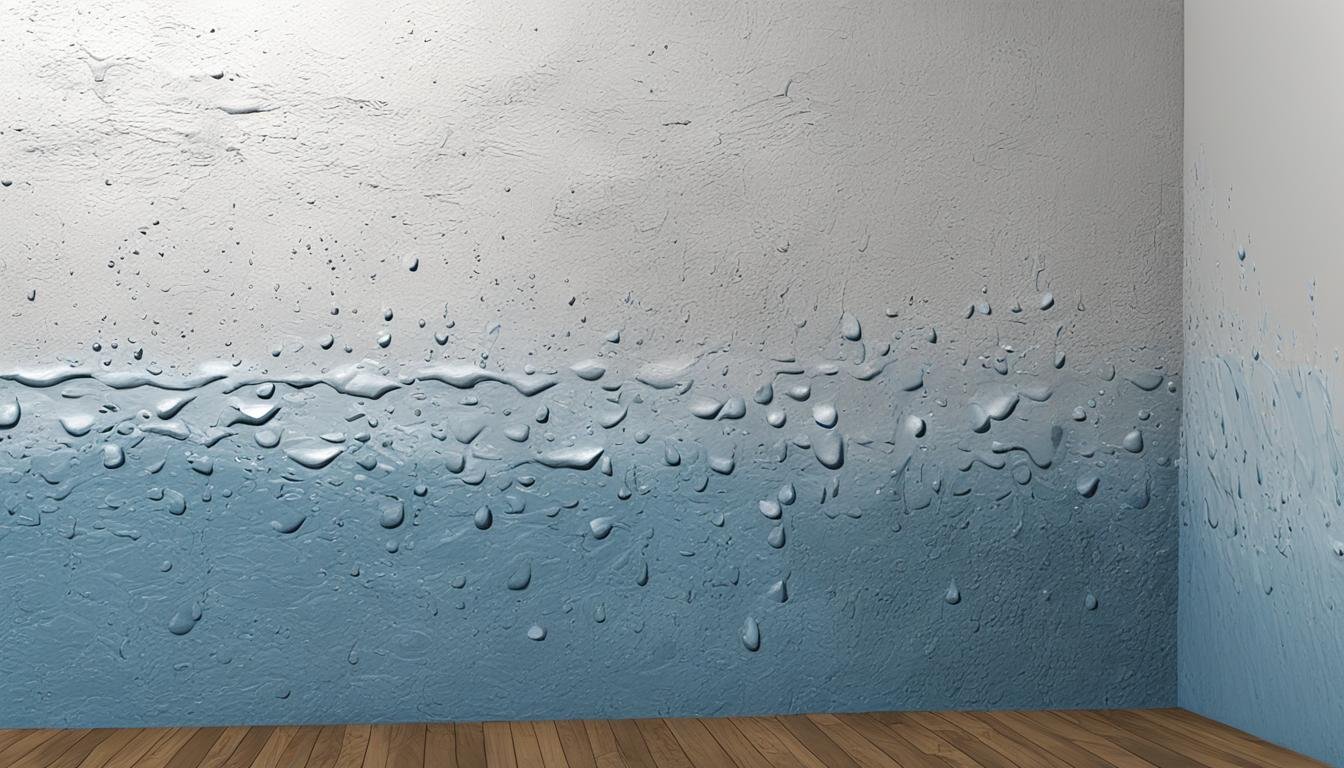
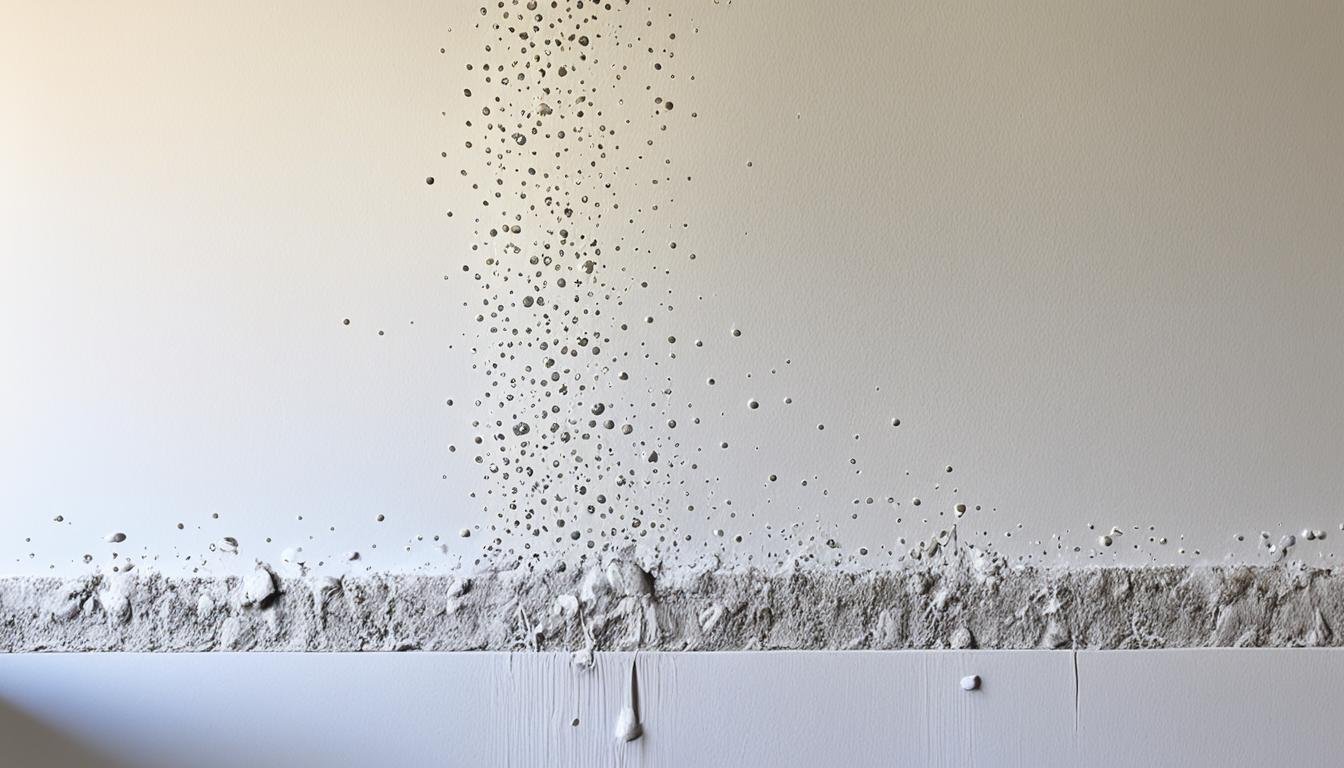
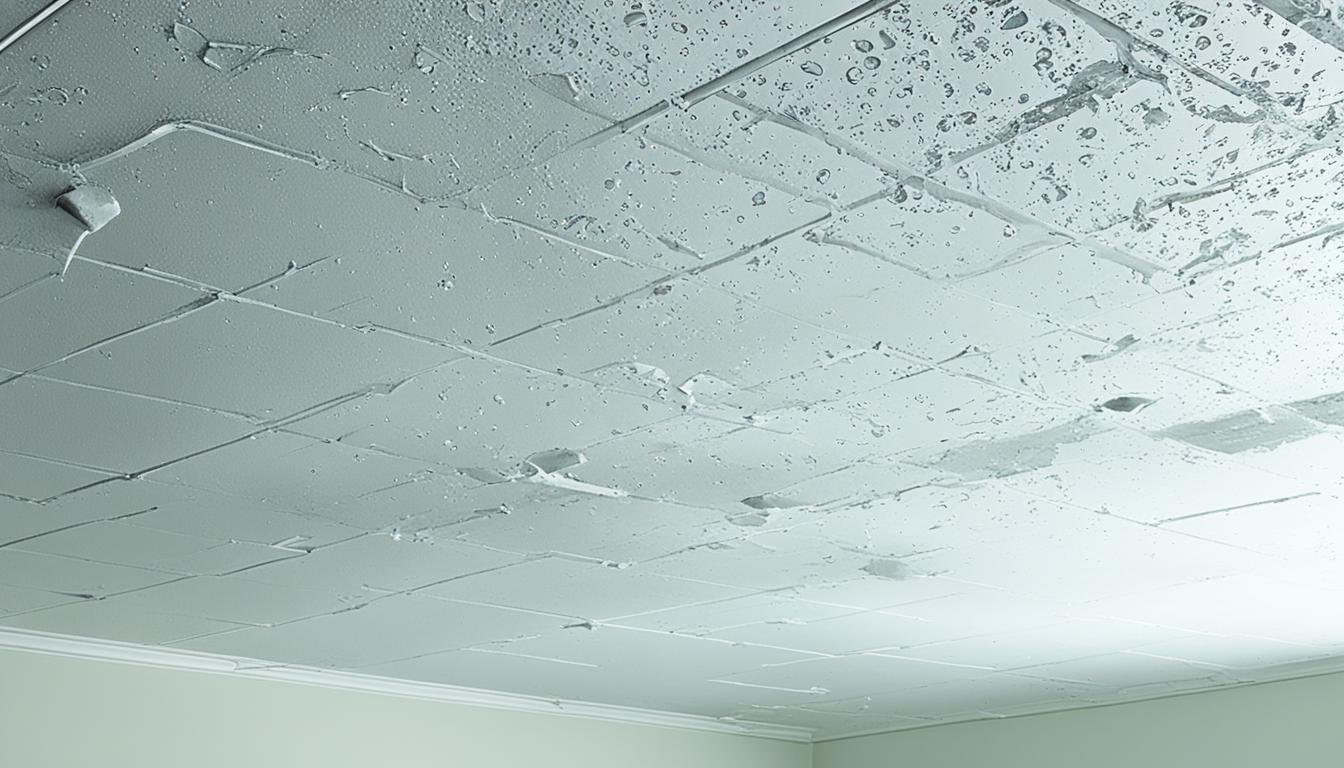
Water stains are a big clue when it comes to wall water damage. They show up in about 75% of cases. Finding signs of moisture early can stop damage from spreading. It can also save you from expensive repairs. Look out for things like color changes and bad smells. These signs often mean there’s water damage behind your walls. Key Takeaways Water damage can come from a variety of sources, including burst pipes, leaky appliances, and natural disasters. Visible signs of water damage in walls include discoloration, peeling or bubbling paint, and warped or sagging drywall. Structural signs like soft, spongy walls and musty odors can also indicate hidden water damage. Prompt detection and mitigation are essential to prevent mold growth and further structural damage. Professional water damage restoration services can help identify the source, stop the leak, and restore your home to its pre-damage condition. Visible Signs of Water Damage in Walls Finding water damage behind walls is not always easy. Yet, there are clear signs to watch for. Discoloration or stains on the walls or ceiling is a big clue. If you see yellow, brown, or dark spots, it might mean water is inside. If paint or wallpaper starts to peel, bubble, or change color, water damage could be the cause. When the drywall gets wet, the surface can get soft or detached. You might hear sounds of water running or see a higher water bill. These can mean there’s a hidden leak. Discoloration or Stains Wall and ceiling stains are often noticed first by homeowners. They can be yellow, brown, or dark. These stains tell you water has gone into the wall. It’s vital to fix this fast to stop more damage and prevent mold. Peeling or Bubbling Paint or Wallpaper Peeling or bubbling paint or wallpaper helps spot water damage. When they detach from the wall, the look is uneven. The drywall behind might warp or sag. This needs quick repair. Finding water damage means acting fast. Ignoring it can lead to mold and harm your home’s structure. Tackling the problem early avoids more destruction. It’s key for your home’s health and safety. Identifying Water Damage Behind Walls When you can’t see water damage, there are ways to find it. Special tools and techniques help identify moisture problems behind walls. We can find hidden leaks before they cause big damage. Moisture Detection Tools Moisture meters and infrared cameras are great at finding water damage in walls. Moisture meters check the moisture in walls, floors, and ceilings. They show places with too much moisture, hinting at a leak. Infrared thermography helps by finding temperature changes that suggest hidden moisture. Experts say the right moisture levels in walls and floors should be very low, less than one percent. A sudden rise in water bills could also mean you have a hidden water leak. For the best results, let a pro check for leaks. Structural Signs You can also spot water damage without fancy tools. Soft or warping drywall, bubbling paint or peeling wallpaper, and unusual sounds like dripping or rushing water point to a leak. Mold growing is a big warning sign. Too much moisture lets mold and mildew grow. If it smells musty or you see mold spots, you might have water damage. Fixing water damage early is key. It can cause big problems if left alone. If you think there’s water damage at home, get a professional to check and fix it. This step can save you from future trouble. Consequences of Unaddressed Water Damage Leaving water damage alone can lead to major problems in your home. This includes mold growth and damage to your home’s structure. Both are serious and need quick attention. Mold Growth Mold often comes after water damage. It’s bad for your health, especially if you have breathing problems or a weak immune system. Mold can start to grow within 24 hours of a leak or flood. It quickly spreads, making the air in your home bad to breathe. Mold starts growing really fast after water damage, which is why you must act quickly. If you don’t, the water becomes a breeding ground for harmful germs and bacteria.Inaction can lead to a major mold issue, which is dangerous for your family. Structural Integrity Issues Water damage can weaken your home’s structure by causing wood to rot. This can make your house unsafe to live in. Floors may start to warp if water stays on them even for a short while. Components that are too damp must be replaced. Not fixing water damage can result in costly repairs. This affects your walls, foundation, and more. The longer you wait, the more expensive fixing it becomes. Timely action is key. Dealing with water damage fast is very important. Water Damage Pros in San Bernardino, CA, are ready 24/7 to help. They can pinpoint and fix your water damage issues, keeping your home safe and sound. Don’t delay – call them at (951-903-5429) to prevent serious water damage problems. Conclusion Finding and fixing water damage behind walls is key. It helps stop more damage and keeps your family safe. Watch for signs like discoloration and peeling paint. Use tools to check for moisture. Fixing problems early stops big issues later on. Fast action with help from pros like Water Damage Pros in San Bernardino is vital. It saves your home’s structure and keeps your family healthy. Regular check-ups and quick fixes help avoid mold, health problems, and high repair costs. Know how to spot water damage and act fast. This protects your home and family. With experts’ help, you can tackle water damage and keep your place safe for years to come. FAQ What are the common signs of water damage in walls? Water damage in walls often shows as discoloration or stains. Paint or wallpaper might start peeling or bubbling. Also, the drywall can crack or warp. How can you identify water damage behind walls? Tools like moisture meters and infrared cameras can …