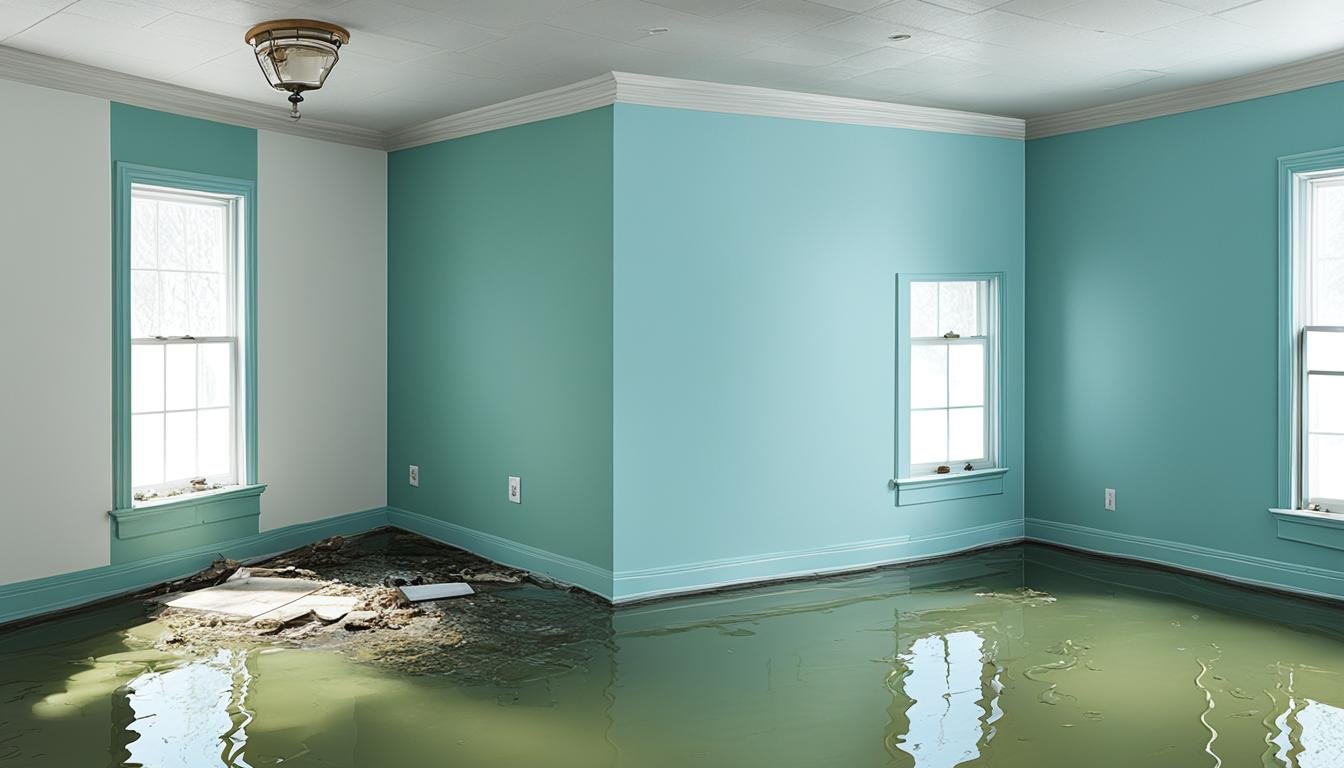
Wall Drying Time After a Leak

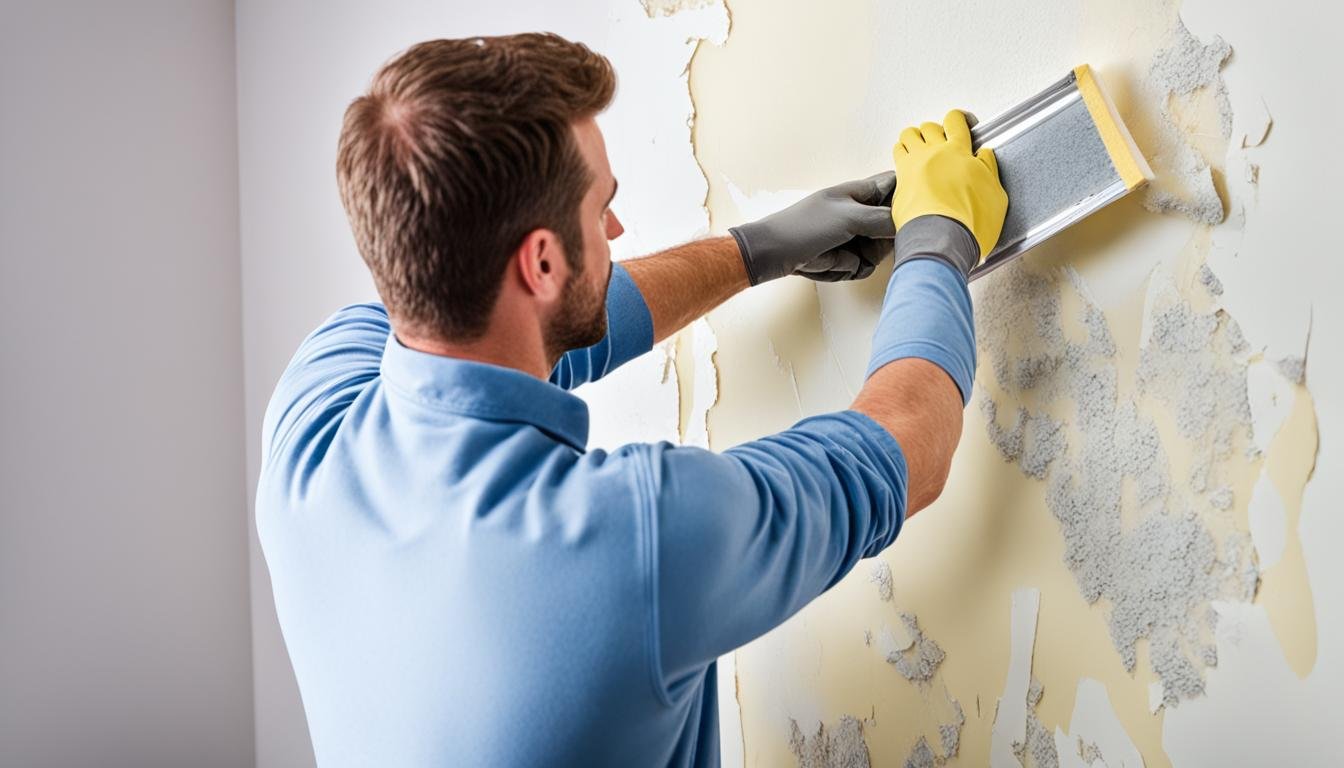
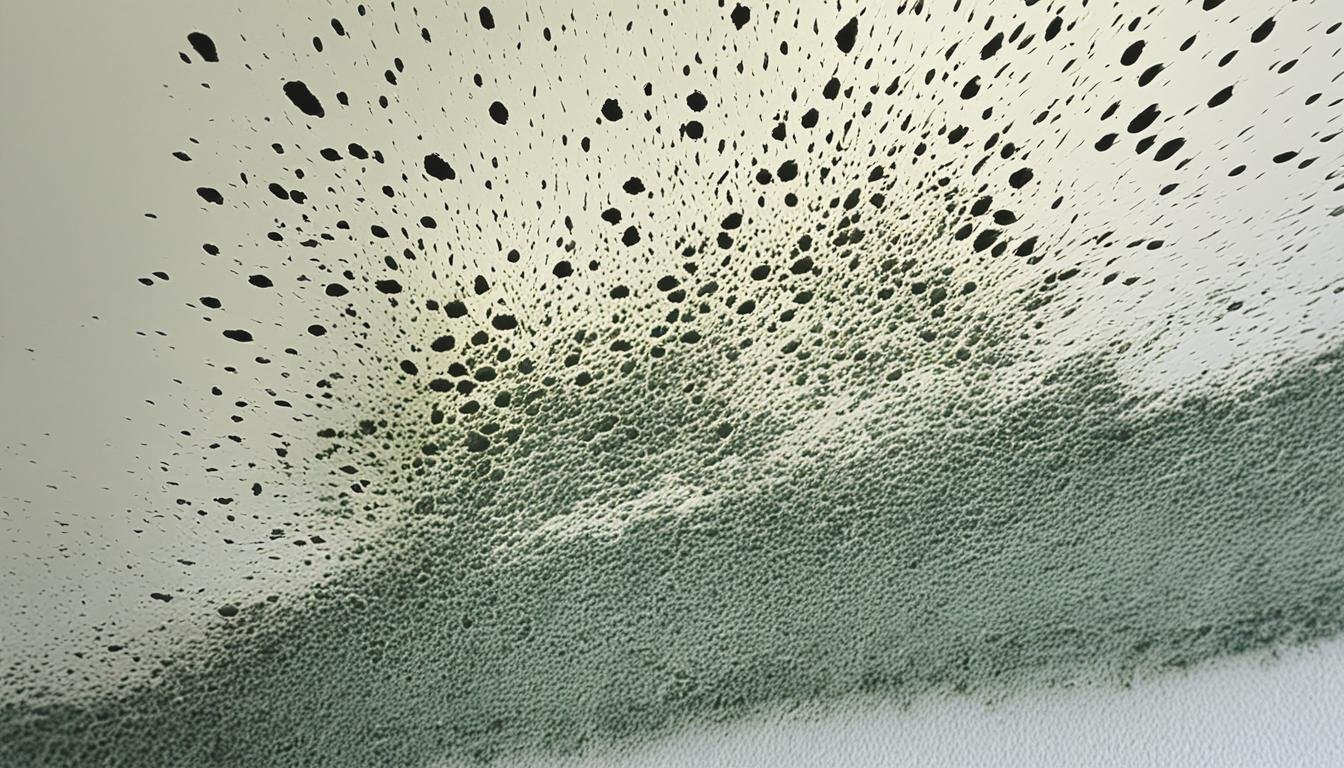
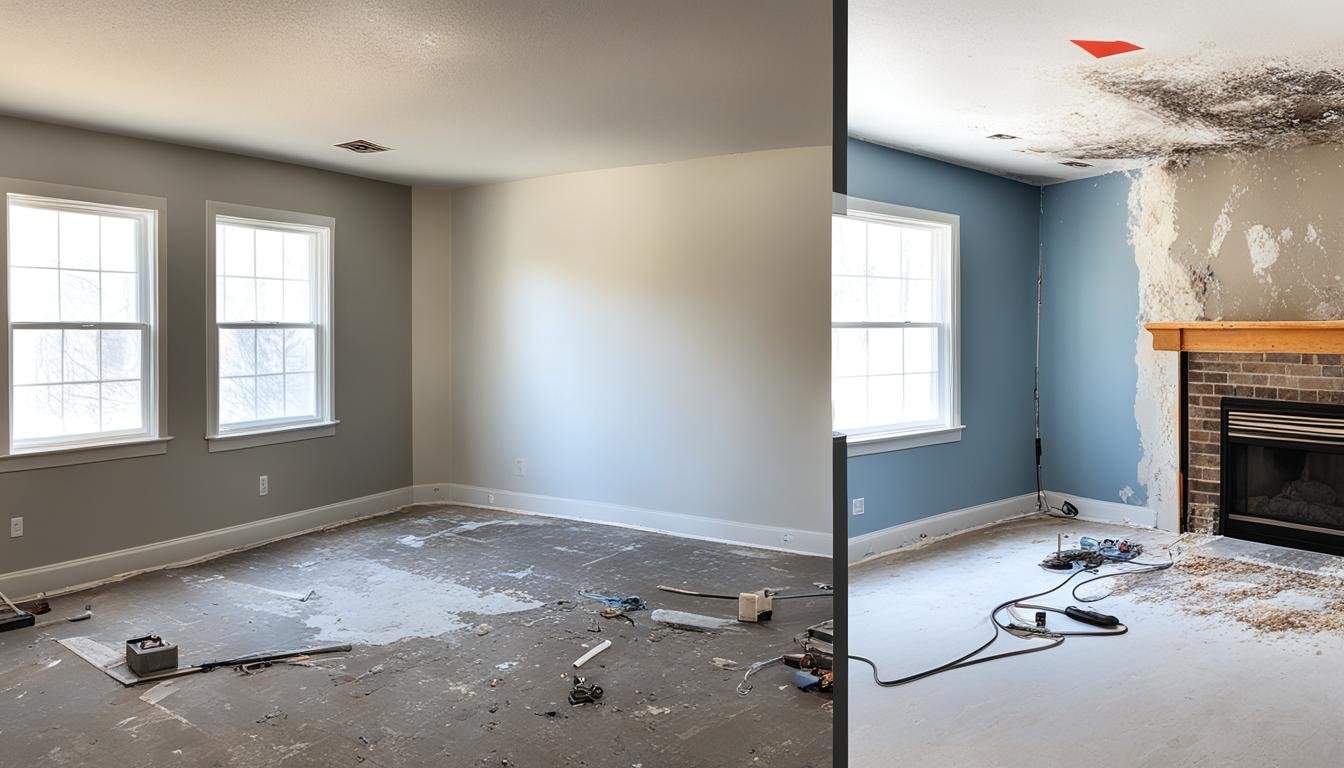
Over half (54%) of property owners across Europe have faced water damage. It shows how crucial it is to know about wall drying time after a leak. Causes like a burst pipe, faulty appliance, or a natural disaster can really harm your space. They can lead to serious structural and financial issues if not handled quickly. The time it takes to dry a place can fluctuate a lot. It can be from several days to several weeks. This big difference emphasizes the need to use the right drying methods. It’s also key to understand what affects how long the restoration takes. Key Takeaways Over half of property owners have experienced water damage at some point Drying time can range from several weeks to several days depending on the situation Proper drying techniques and understanding key factors are crucial for a swift restoration Professionals can identify hidden areas of water damage and use specialized equipment for efficient drying Mold can start growing in as little as 24 hours, making prompt action essential Understanding the Factors Affecting Wall Drying Time Several important factors impact how long it takes for walls to dry after a leak. The extent of the damage and the drying technique used play huge roles. They can make the drying process shorter or longer. Extent of the Damage The amount of water damage really affects how quickly walls dry. If lots of water gets into the drywall, it will need more time to dry. For thoroughly soaked drywall, drying completely can take a very long time. Restoring flood damage is usually much more time-consuming than fixing mild water damage from a leak. Drying Technique Drying wet drywall fast is crucial, and there are many ways to achieve this. Using only one method can be slow. Combining several drying tools like dehumidifiers and air movers removes more moisture. This also helps stop mold growth. Opening windows and doors for better airflow is helpful too. Experts stress the importance of quickly addressing water leaks to reduce damage. Restoration professionals use top-notch industrial-grade equipment for water extraction and drying. This ensures walls are thoroughly and quickly dried. “On average, it takes about 72 hours for areas affected by water damage to completely dry up.” Regularly checking your home can catch early signs of water damage. This allows you to take steps to prevent damage before it worsens. Wall Drying Time After a Leak Water damage drying time is crucial for avoiding problems like mold and weakening structures. It roughly takes 72 hours for a spot to fully dry out. But remember, larger areas hit by water damage need more time. After water damage occurs, quick action is essential. Get rid of soggy materials. Then, set up drying equipment to get air moving, like fans and dehumidifiers. You also should work with a water damage restoration expert. They have the gear and knowledge to quickly dry your walls. How long it takes to fix water damage depends on a few things. The home’s size, how fast the leak was stopped, and the materials used all matter. Generally, bigger wet spots need more time to dry. Statistic Value Average cost of repairing drywall after water damage $500 (typical range: $250-$750) Time to completely dry wet drywall after a water leak 3-5 days Moisture meter reading indicating wet drywall Above 12% Timeline for mold growth to start after water damage 24 hours For drying walls effectively, professional gear like air movers and dehumidifiers are key. Such equipment is usually available for rent at hardware stores. Before you start drying, it might be necessary to cut your walls. This lets them dry faster. Sealing off the room as it dries can make the process work better. Use plastic sheeting over openings. This approach, along with experts helping, ensures your walls dry well. It also stops further damage. Conclusion Drying out walls after a water leak is vital to stop more damage and mold growth. The Wall Drying Time After a Leak method looks at how bad the damage is, what drying methods are used, and when repair is complete. Experts, like Water Damage Pros in San Bernardino, use special gear and methods to take all moisture out. This improves the air in your home and keeps your house strong. Getting rid of moisture removal from walls using the right wall drying techniques is key. This keeps mold away, which is important for your health and home. Water Damage Pros use powerful air movers, dehumidifiers, and cameras to dry spaces fast and watch the progress. Sticking to the right leak remediation timeline and controlling humidity levels for wall drying is crucial. Doing this helps reduce water damage effects and keeps your home safe. If you need help with wall insulation drying, or want top-notch drying equipment for walls, Water Damage Pros in San Bernardino can help. They’ve got the skills and tools to get your home back to normal. FAQ How long does it take for drywall to dry after a leak? The time for drywall to dry depends on how much water it absorbed. Drywall takes longer to dry if it soaked a lot of water. Flood damage needs more time to fix than small pipe leaks. What are the best methods for drying out wet drywall? It’s key to dry wet drywall fast. Use dehumidifiers and air movers for quicker drying. This helps prevent mold and speeds up the process. Opening windows and doors also aids air circulation. How long does it typically take for a water-damaged area to fully dry out? An area usually dries up in 72 hours. But larger water-damaged spaces take longer. You must follow certain steps to restore your home after water damage. What other steps are involved in restoring a water-damaged property? Drying wet areas is the first step, but not the only one. Sanitizing is crucial to stop mold and remove harmful stuff. Water Damage Pros in San Bernardino use top equipment. They make sure every place …