Identifying the Smell of Black Mold

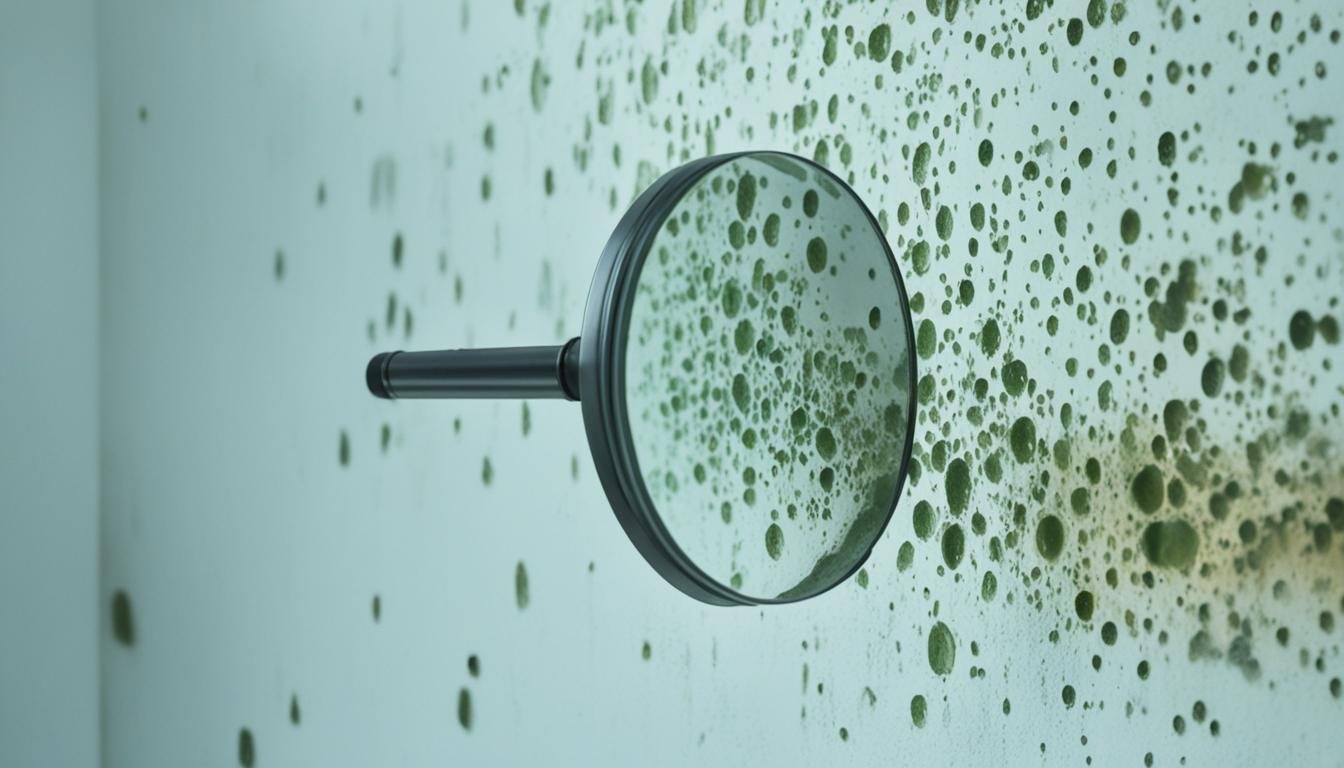
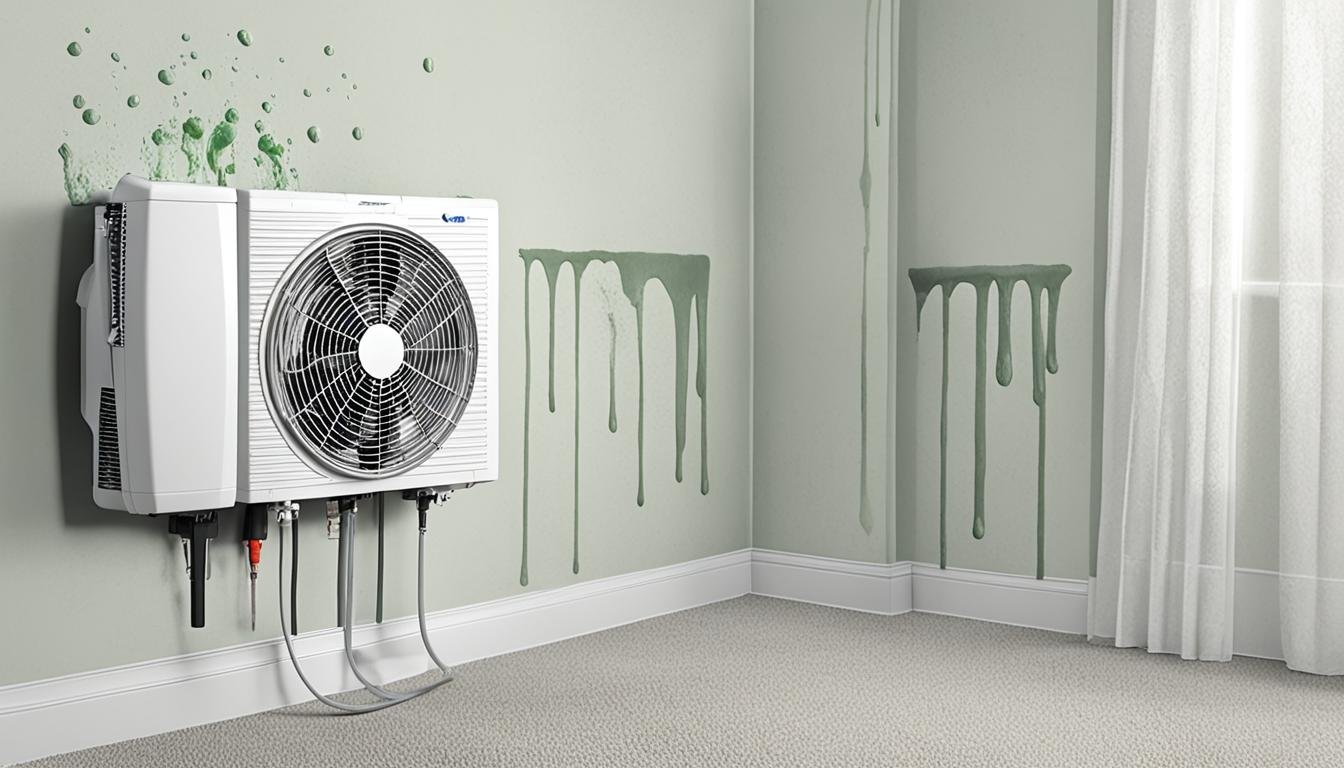
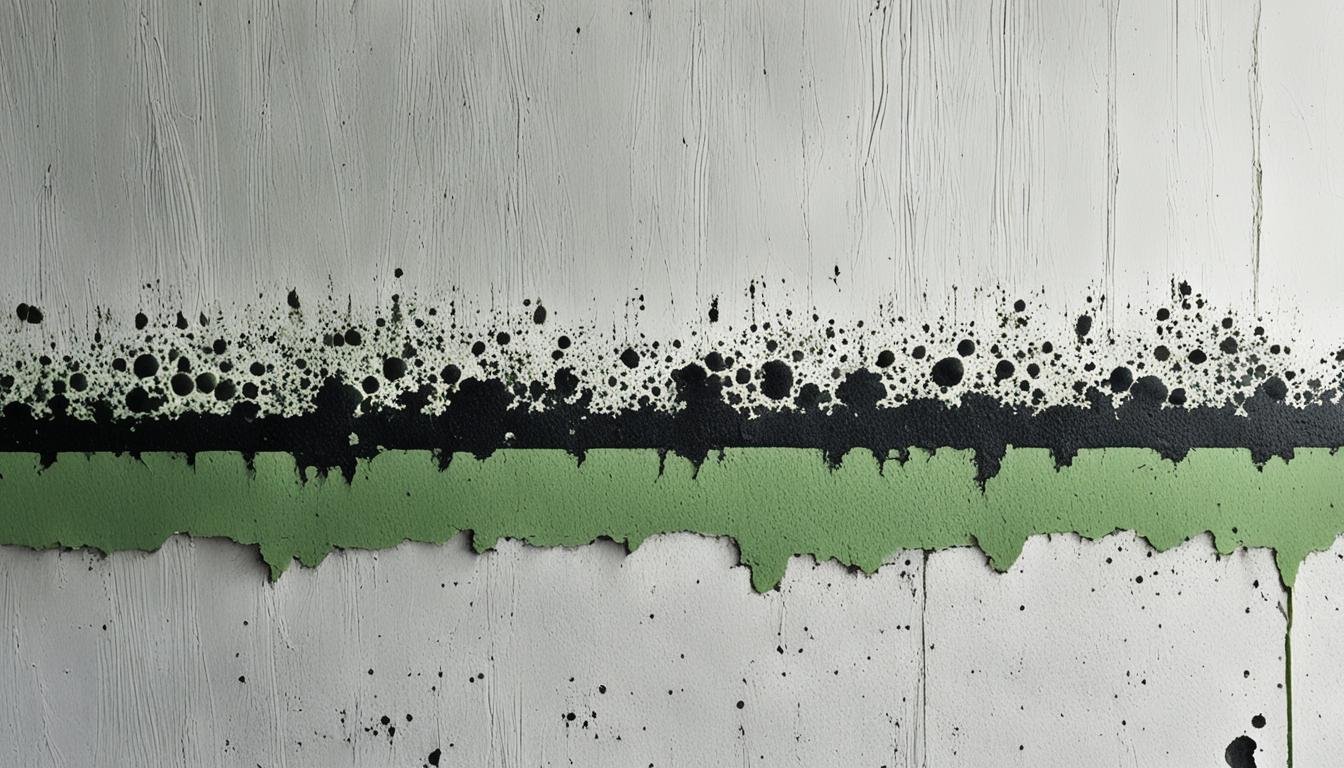
The CDC says 47% of US homes have high mold levels, including black mold. It’s known to be a serious and common type of mold. Black mold smells musty, like dirt, and can be noticed early, even if you can’t see it. This smell warns you that mold might be growing somewhere in your home. Key Takeaways Black mold has a strong, musty odor that is often described as similar to rotting wood, paper, or dirty socks. The mold’s odor can be detected before the growth becomes visible, providing an early warning sign. Moisture is a key factor in black mold growth, and homeowners should be vigilant for any water damage or damp areas. Hiring professional mold inspection and remediation services is recommended, especially for larger infestations, due to the health risks associated with black mold. Regular home inspections and prompt action to address any musty odors can help prevent the spread of toxic black mold. Understanding the Odor of Black Mold The musty, earthy smell from black mold is hard to miss. It’s often the first clue something is wrong, even before you see the mold. This smell comes from certain compounds that mold releases into the air as it grows. Many say it smells like damp and stale things or even sweaty socks. The Musty, Earthy Scent Not everyone smells the black mold right away. Some may notice it quickly while others don’t. But, if you do smell it, it’s a big warning sign. It means there’s likely a moisture problem helping the mold grow. It’s vital to fix any leaks, boost ventilation, and keep the air not too humid inside. This tackles the bad smell and keeps the mold away. These steps also make the air better to breathe. For help fighting mold smells and related issues, check out sanbernardinowaterdamagerestoration.com or talk to the pros at Water Damage Pros. “The smell of black mold is often the first sign that a problem exists, even before the mold is visible. This musty, earthy scent is a clear indicator that immediate action is needed to address the underlying moisture issues and prevent further mold growth.” Identifying the Smell of Black Mold If you smell something musty at home, check areas that often get wet. Bathrooms, kitchens, and basements are prime spots. Black mold grows there and gives off a strong, musty scent. Mold starts forming quickly, sometimes in just 24 hours. This makes your home smell like mold fast. Any kind of mold can be bad for your health, says David Harley. Each mold type smells a bit different. For example, black mold often smells like a damp basement or rotten leaves. Mold smells linger and spread if you don’t deal with the mold soon. If you can’t find where the smell is coming from, get a professional mold inspector. They can test your air quality. Finding and removing black mold quickly is important for a safe home. Signs of Mold Growth Musty smell Dark-colored tile grout Warped drywall Air conditioning or heating unit smelling weird Peeling wallpaper Dark spots on walls Causes of Black Mold Black mold needs water and a place to grow, like wood or paper. It thrives in dark, humid spaces. Susceptible Areas for Mold Infestation Health Effects and Symptoms Carpets Wood doors Baseboards Drywall Wallpaper Any water-permeable areas Coughing Wheezing Headaches Psychiatric issues Brain damage Joint pain Loss of mobility Act fast if you find black mold. Water Damage Pros and other pros can safely clean it up. This keeps you and your family safe. “Immediate response from certified professionals is crucial for limiting mold damage and restoring homes to pre-damage conditions.” Health Risks of Black Mold Exposure Black mold can seriously impact your health, mainly affecting your breathing. It makes asthma worse and causes sneezing, coughing, and watery eyes. This happens even if you don’t have asthma. If you’re allergic to mold or have a weak immune system, you’re at higher risk. Being around black mold for a long time can cause big health problems. It links to pain in your joints and muscles, trouble with your stomach, and feeling tired all the time. It might make you forget things, feel anxious, or be sad. So, finding and getting rid of black mold quickly is very important. Potential Health Effects Respiratory issues, including asthma symptoms Mold allergies, leading to sneezing, coughing, and congestion Compromised immune system, increasing susceptibility to illness Joint and muscle pain Gastrointestinal problems Chronic fatigue and brain fog Anxiety and depression If you think you have black mold at home or where you work, don’t wait to fix it. Getting help from experts at sanbernardinowaterdamagerestoration.com or Water Damage Pros is key. They can find and clean up the mold. This stops the health risks it brings. “Mold exposure can lead to a range of respiratory issues, from worsening asthma symptoms to triggering allergic reactions in those without the condition. Prompt action is crucial to protect your health.” Conclusion The musty, earthy smell of black mold tells us it’s close, even if we can’t see it yet. Knowing this smell helps us find the mold early. This discovery is vital to stop the mold from spreading in your house. Finding and fixing the damp problems, and taking care of any mold we find, are very important. This protects our family’s health. Water Damage Pros in San Bernardino, CA offer full mold remediation services. They look for mold, test it, and then get rid of it, ensuring your home is safe to live in. They also use great moisture control strategies and mold prevention tips to keep your home fresh and mold-free. To learn more or to set up an appointment, give them a call at 951-903-5429. Or, you can visit sanbernardinowaterdamagerestoration.com. They are ready to help you with all your mold issues. FAQ What is the distinctive smell of black mold? Black mold is known to have a musty, earthy smell. It’s often described as rotting vegetables or plants. Some …