Recently, a discussion on saving a wet drywall ceiling caught the attention of 5,000 people. This highlights how common and important this issue is for many homeowners. Issues like a leaky pipe, roof troubles, or excess moisture can severely damage drywall. Yet, it’s often possible to rescue the ceiling with a smart plan and stop further harm.
Key Takeaways
- Identifying the source of the leak is the first crucial step in addressing a wet drywall ceiling.
- Stabilizing and containing the leak through emergency measures can help prevent further water damage.
- Allowing the damaged area to fully dry out is essential before attempting any repairs or restoration.
- Proper drywall repair and sealing techniques are necessary to ensure the ceiling’s structural integrity and prevent future issues.
- Seeking professional assistance may be advisable for severe water damage or complex leak sources.
Identifying the Source of a Ceiling Leak
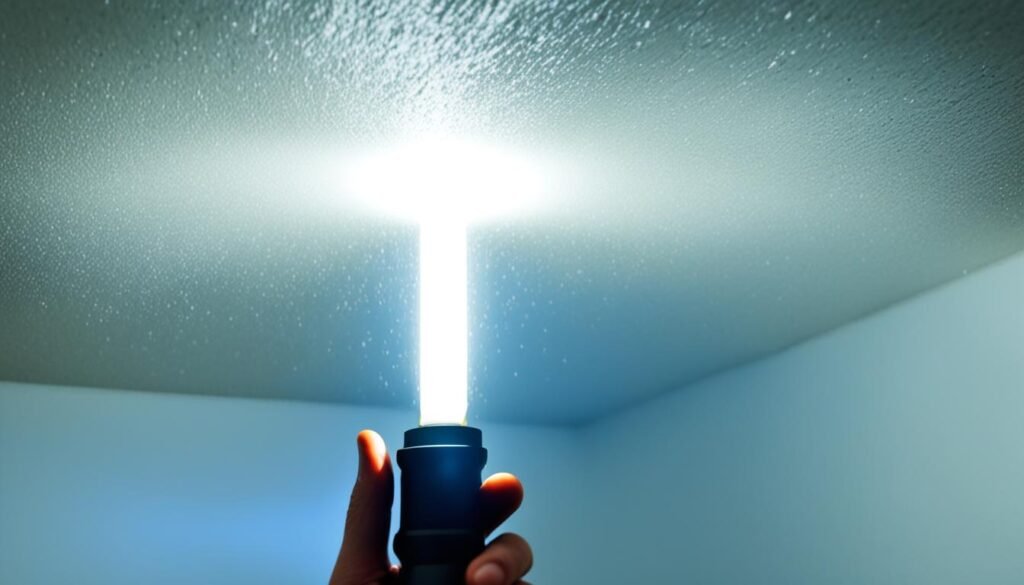
Getting to the bottom of a ceiling leak is key to stopping it and avoiding more harm. Look closely at your ceiling. You want to find any wet spots, odd colors, or water drops. These can help figure out where the water is coming from.
Locating the Origin of Water Damage
Check the floor, walls, and attic above. You’re looking for the rain’s entry point. Use a moisture meter if you have one. It’ll show you where the most water is. This likely marks the leak‘s location.
Leaks can come from many places. Think overflowing sinks or leaky pipes. Bad roofing or full gutters are also common culprits. It takes a thorough look to find the real issue.
Signs and Patterns of Moisture Intrusion
- Water Stains: Signal the first sight of damage, spreading if the leak continues.
- Peeling Paint or Wallpaper: Shows spots where water has damaged the finish.
- Sagging Ceiling: Reflects the weight of trapped water, weakening the structure.
- Mold or Mildew Growth: Tells you water has been there long enough for mold to thrive.
- Dripping Water: Means there’s an active leak, needing immediate action.
- Soft Spots: Identify areas that have absorbed enough water to feel soft or damp.
- Cracks or Blisters: Point to structural damage caused by water.
| Potential Causes of Ceiling Leaks | Description |
|---|---|
| Leaking Roof | Missing or damaged roof tiles can let in water, causing severe damage to ceilings. |
| Plumbing Leaks | A burst pipe can rapidly damage ceilings from factors like cold weather or high pressure. |
| Condensation | Lack of fresh air can create moisture, affecting the ceiling’s strength and quality. |
| Overflowing Gutters | Clogged gutters spilling water can harm ceilings via soaked outer walls. |
| HVAC Issues | Poorly serviced heating or cooling units can leak, harming ceilings. |
| Appliance Leaks | Water leaks from appliances above may spoil ceilings in living spaces. |
| Natural Disasters | Intense weather can harm roofs or windows, letting in damaging water. |

Learning about ceiling leaks helps homeowners act fast to avoid more trouble. For big problems, it’s smart to get expert help. They can protect the ceiling and your home’s safety.
Stabilizing and Containing the Leak
When a roof is leaking, the first step is to stop the spread of water. This means acting quickly to keep the damage contained. You want to prevent as much harm to your house as possible.
Emergency Leak Control Measures
Once you find where the water is coming from, it’s time to act fast. You need to stop the water and start limiting the harm. Here’s what you should do:
- Shut off the water supply: Find the main valve for the leaking system and close it. This step is key to cutting off the water.
- Place buckets or tarps: Put something under the leak to collect the water. It’ll help keep the damage from spreading.
- Create a drainage hole: For big leaks, consider poking a hole so water can escape. Make sure to place something under it to catch the water.
- Turn off power: If there’s danger of water reaching electricals, turn off the power. It’s safer to dry electrical items with tools, not with your hands.
These steps are essential for stopping more damage and controlling a ceiling leak. Acting fast will help keep the water problem small. You’re laying the ground for effective water damage mitigation and Temporary Leak Containment.
“Immediate action is essential when dealing with a ceiling leak. Stabilizing the situation and containing the water flow can make all the difference in preventing extensive damage.”

Remember, aim to limit the water’s harm in your home. Following these instructions helps you get the situation under control. This is the first step towards fixing the issue.
Saving a Wet Drywall Ceiling
Drying Out the Damaged Area
When a ceiling leak happens, the first thing to do is dry out the area well. You might need fans, dehumidifiers, or other tools. They make sure the drywall and everything underneath it are totally dry. This is important to stop mold and more damage.
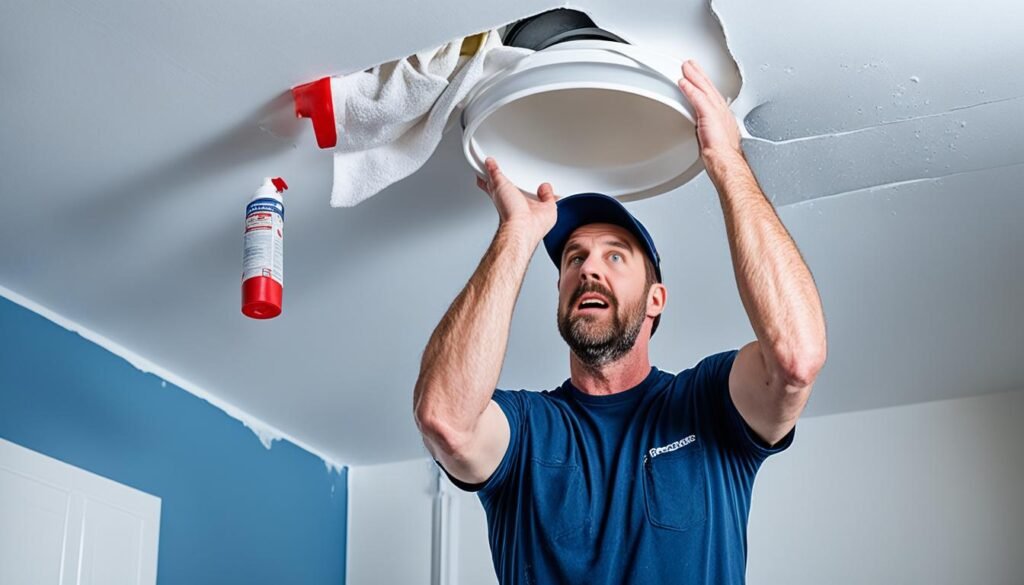
Water can collect in light fixtures if there’s a leak. They’re often the lowest point on the ceiling. You should find and fix the leak source before drying the area. A moisture meter can show you where the leak is by the wettest spots on the ceiling.
Repairing and Restoring the Ceiling
After the area is dry, remove the damaged drywall gently. You might need to cut small holes in the ceiling with a saw to find the leak. This is a hard choice and needs to be discussed and approved. Drywall repair methods depend on how bad the damage is. It’s easier to fix small water damage than big flooding.
Next, check the area for mold or more damage. Ceiling restoration could mean adding new insulation, drywall, or fixing the ceiling’s appearance. The right fixing and replacement methods are crucial. They stop mold and keep the ceiling strong for years.
| Moisture Removal Techniques | Drywall Repair Methods | Ceiling Restoration |
|---|---|---|
|
|
|
“Promptly addressing water damage increases the chances of salvaging drywall, as the longer it is exposed, the greater the damage it sustains.”
By using the Drying Wet Drywall Ceiling and Water Damage Cleanup tips, you can fix a wet drywall ceiling. Acting quickly and carefully is key to limiting water damage problems. Remember that fast, thorough work helps a lot.
Conclusion
So, fixing a wet drywall ceiling means tackling the problem head-on. First, find the leak’s source. Then, stabilize things and make sure the area dries completely. Acting fast and using the best methods can avoid mold, keeps the structure safe, and saves on expensive repairs.
If the leak is bad or hard to find, getting expert help is a good idea. Water Damage Pros in San Bernardino, CA knows exactly what to do. They have the tools and knowledge to fix the issue, stop future leaks, and make your ceiling look brand new.
To stop more leaks, check your home often for signs of water. Fix any plumbing or structural issues right away. Make sure places like bathrooms and attics have good air flow and drainage. These steps will keep your drywall ceiling safe and your house strong.
FAQ
What is the first step in saving a wet drywall ceiling?
How do I locate the origin of a ceiling leak?
What emergency measures should I take to stabilize and contain a ceiling leak?
How do I properly dry out a wet drywall ceiling?
What is the process for repairing a wet drywall ceiling?
Source Links
- https://www.diychatroom.com/threads/repair-wet-drywall-and-mold-risk.196590/
- https://jenkinsrestorations.com/how-to-tell-if-a-drywall-is-water-damaged/
- https://www.accutechrestoration.com/how-to-effectively-dry-out-wet-drywall
- https://apollohome.com/blog/suspect-a-ceiling-leak/
- https://trusscore.com/blog/how-to-identify-repair-and-avoid-water-damage-on-ceilings.html
- https://www.forbes.com/home-improvement/roofing/water-leaking-from-ceiling/
- https://www.forbes.com/home-improvement/roofing/what-to-do-ceiling-water-damage/
- https://www.familyhandyman.com/article/what-to-do-when-your-ceiling-has-water-damage/
- https://www.contractors.com/your-guide-fixing-leaking-ceiling/
- https://www.homedepot.com/c/ah/how-to-repair-a-water-damaged-ceiling/9ba683603be9fa5395fab90154a4f56d
- https://mypropainters.com/blog/does-wet-drywall-always-need-to-be-replaced/
- https://www.restopros.co/ga-northeast/2024/04/16/should-you-replace-drywall-if-it-gets-wet-or-dry-it/
- https://www.mitchellplumbinggas.com/blog-post/will-ceiling-dry-out-after-leak
- https://www.waterdamagerestorationaz.com/replacing-water-damaged-drywall
- https://leakwatchsystems.com/what-to-do-when-your-ceiling-has-water-damage/


